Before this recipe, I've always wanted to try to make petit fours.
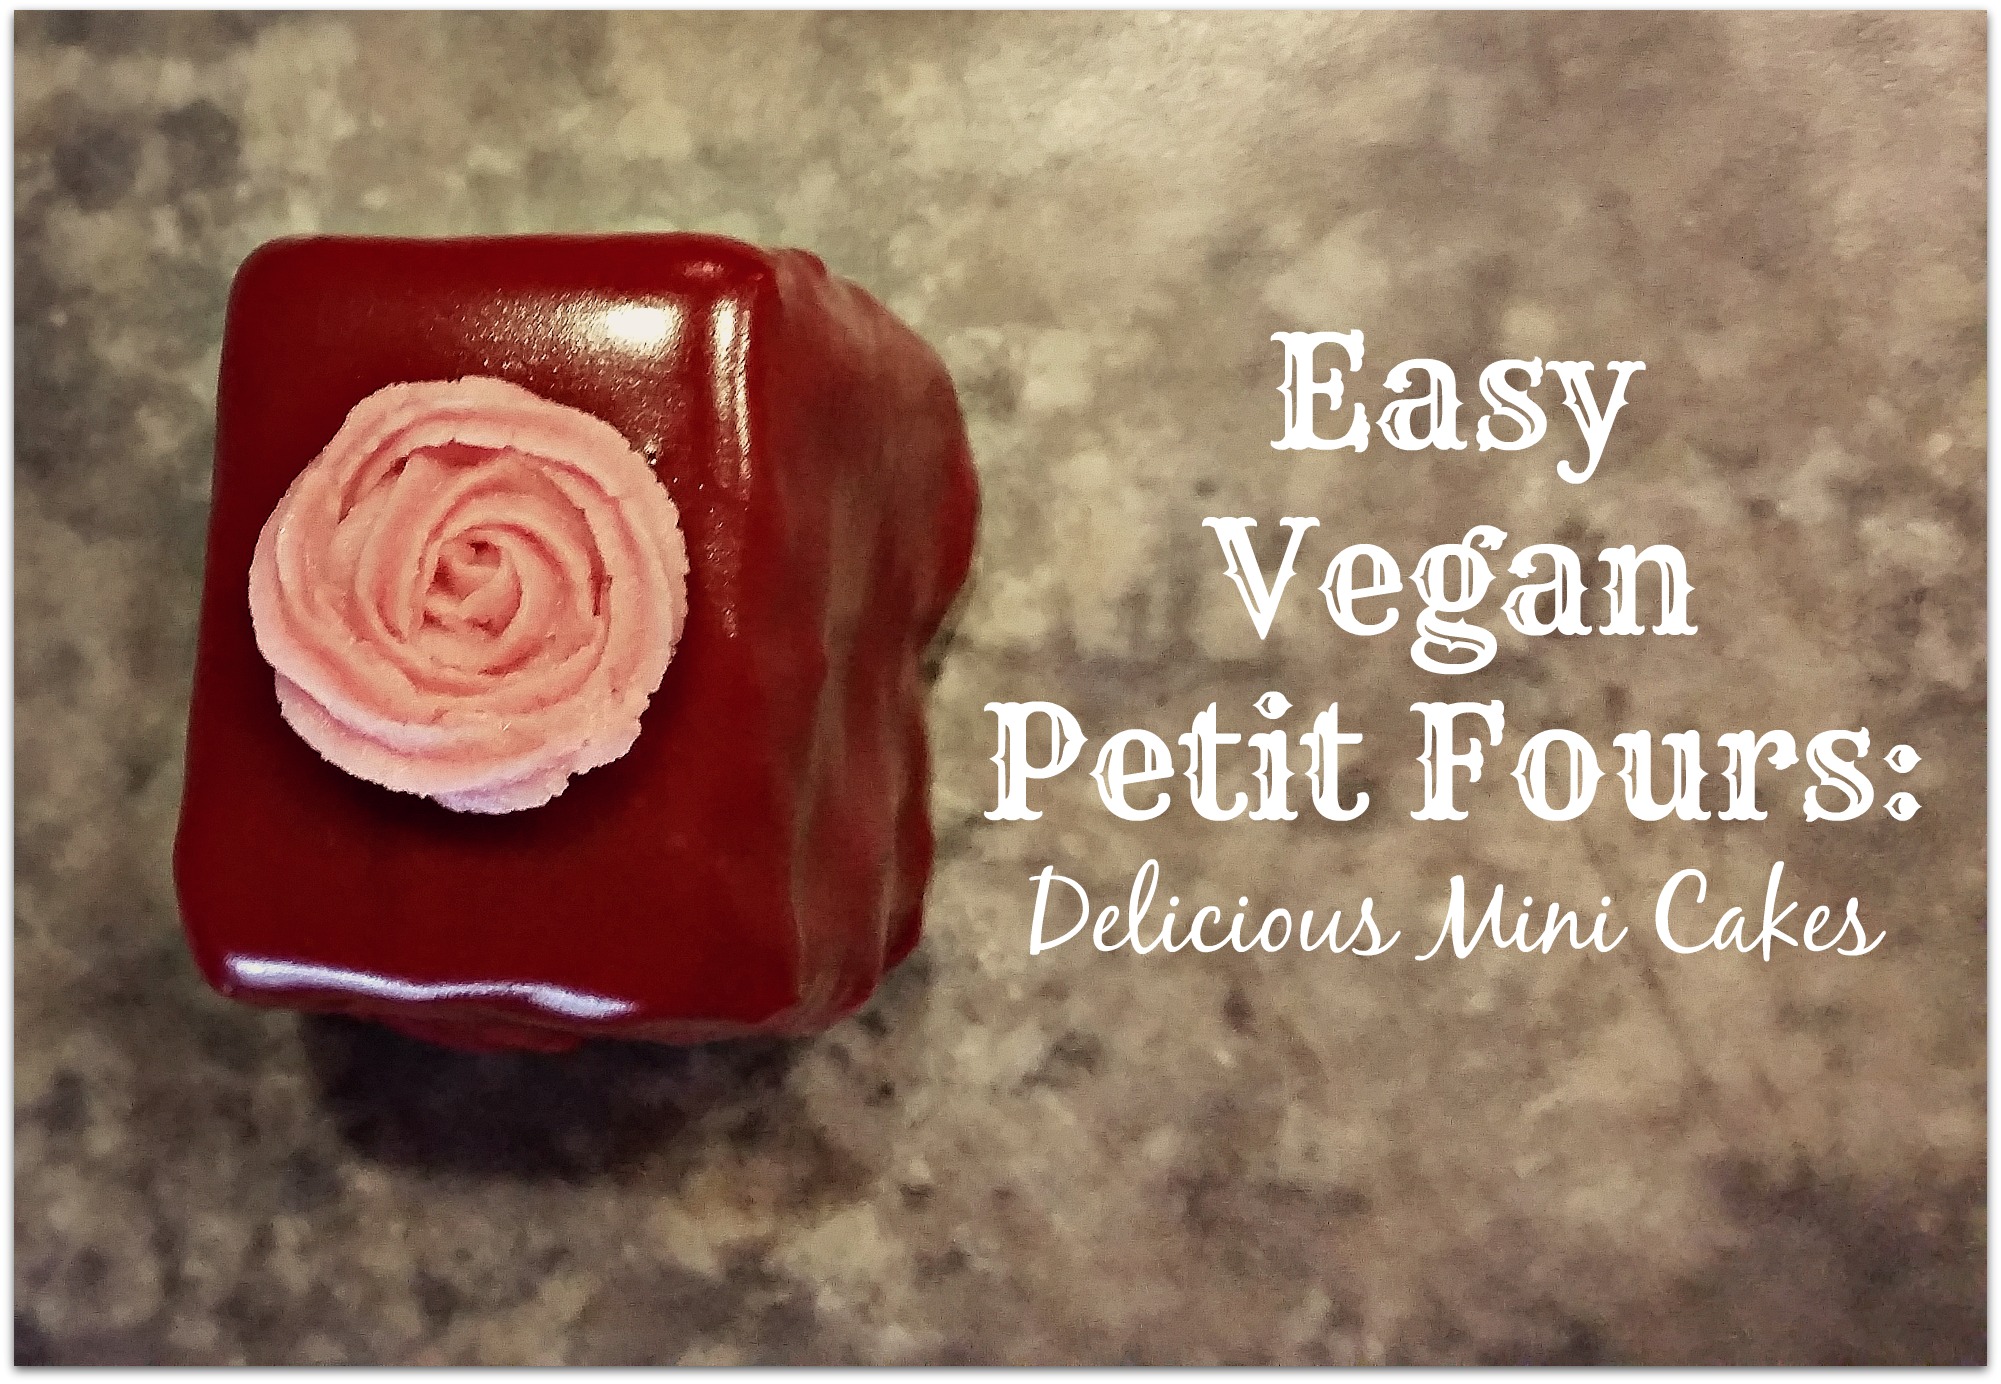
The term petit four is French (obvi) and it translates to "small oven". They're essentially small cakes that serve as sweet appetizers, finger foods. And they're so cute and fancy looking!
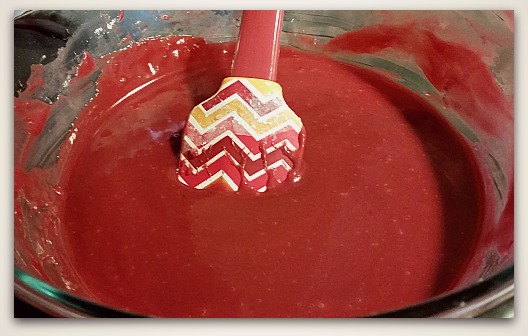
Just like my Vegan Buttercream Icing recipe, I used my Activz Beet Powder to color this "fondant" icing. It gives them such a bright hue! I love it! This isn't your normal icing; this fondant icing is pourable, so there's very little work involved.

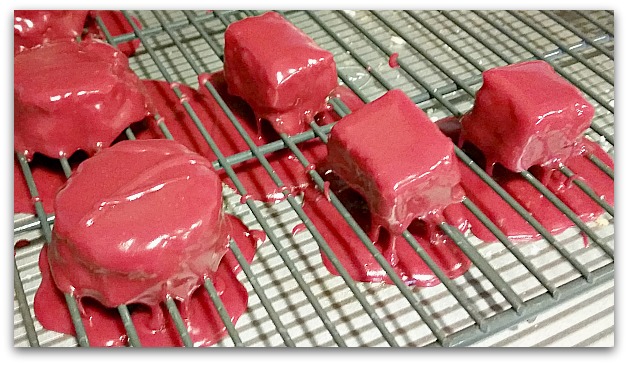
If you take a close look at the sides of my petit fours, you can see a little rippling. If you were making these for a professional catering event, this may seem undesirable. In order to get rid of it, you need to ice the cakes with buttercream icing, to fill the holes/gaps in the cake. I didn't do this, but I think they look good enough for Valentine's Day or a close family gathering. They still look gosh-darn fancy! Not icing the cakes ahead of time cuts out another step to make these little cakes quickly - which I'm a fan of!
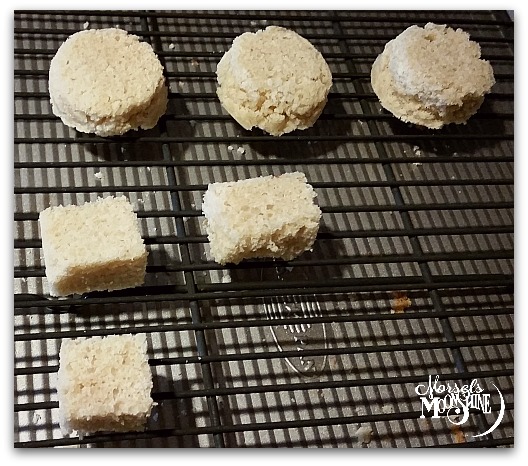
How should you cut your petit fours? I did an experiment with both circles and squares. My conclusion: squares turn out SOOOOO much better! The circles crumbled in weird ways after the icing was poured on. You may have to pre-ice the circular ones, so if you're crunched for time, stick with the square shapes.
You might also want to think about putting filling in your petit fours. Since this was my first time making them, I did not. I didn't want to over-complicate things. You could add jam or lemon curd to make the cakes pop. As you will see below, I used my Amaretto Pound Cake in this recipe and paired it with an almond fondant - let me tell you - it was not lacking in the flavor department!
If you want to be lazy (and quick) about it, buy a store-bought pound cake. Step one is done for you!
Vegan Petit Fours
Fondant recipe adapted from Martha Stewart
1 boozy pound cake, recipe here
4 1/2 c. vegan powdered sugar
1/4 c. pure maple syrup
1/2 tsp. vanilla extract
1/4 tsp. almond extract
1/4 c. water (or more amaretto!)
1 tsp. beet powder, for color
Directions
Using a sharp knife, slice your pound cake into bite-sized pieces. You want to make sure that they look uniform and are sturdy. I would start making them thicker and go from there, about 2 inches by 2 inches (approximate). Use your eyes to judge. The cleaner your slices are, the better the sides of each cake will look. Again, I don't recommend the circles.
Next, you'll want to create a double boiler (if you don't have one): place a few inches of water in a small saucepan. Place a heat safe bowl, like Pyrex brand, on top, making sure the bowl is not touching the water. Heat the saucepan to medium heat.
Add your liquid ingredients first: syrup, vanilla, almond, water, and beet powder. Stir as the liquid slowly heats. Add in the powdered sugar gradually, stirring regularly. Once everything is melted together and incorporated (and most importantly SMOOTH), remove the liquid fondant icing from the heat. Allow it to cool for about 8-10 minutes.

In the mean time, arrange your cut cakes on top of a cooling rack with a cookie sheet underneath. Tip: cover the baking sheet with foil or parchment - it helps with easy clean up!

When you're ready to pour, you can cover the cakes two ways: first, you can dunk each cake in the fondant by dipping it with a spoon. Or you can just pour it right on top. I did the latter method. I used a spoon to dollop the icing on each cake. Once you've put one layer on each cake, follow up with one more. This is especially important if you're using a light-colored icing. It might be too see-through. This bright red icing did not have that problem. It does give it a more polished look though.

Allow each cake to harden. The nice things about the fondant icing is that it locks in the cakes' freshness and flavor. When everything seems dry, transfer the cakes to wax paper or parchment, just so they don't stick to your baking rack.

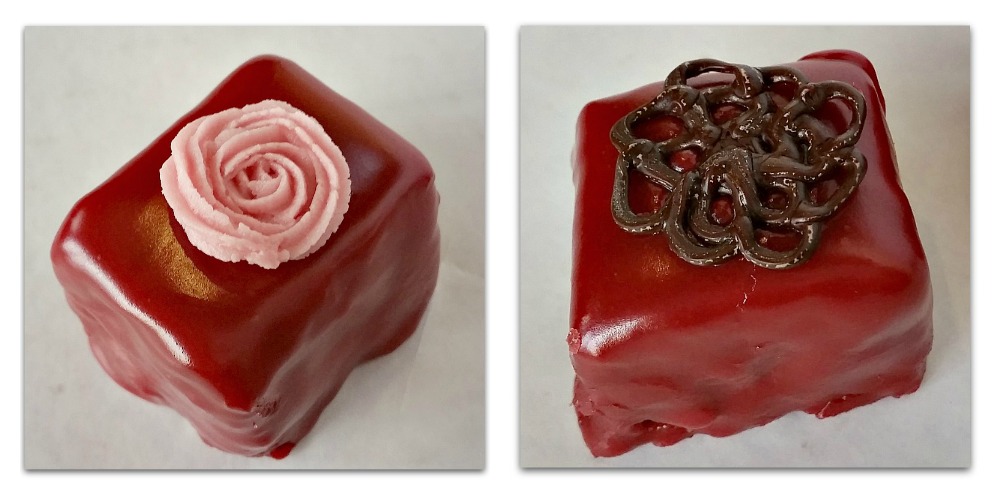
Next, add any embellishments or decorations that you want. I made mini roses on mine and added some of my chocolate decorations - it almost looks like the chocolate was piped right on the cake! No one would know that they were made ahead of time!
Enjoy these fancy cakes and impress your valentines this year ;-)
Cheers!
-Aileen